I have never met a single person who doesn’t like biscotti (or cantucci as Italians would say). Whenever I make biscotti, people are immediately happy (especially if it’s coconut biscotti). I was always ecstatic as a kid whenever my mom bought biscotti at Sam’s Club. There’s just something about that crunch that teleports me to Italian heaven.
I made a lot of almond biscotti following Basics with Babish on Youtube. I tried a couple of biscotti recipes and his base recipe is solid. Perfect biscotti every time. Once I had the basics down, it gave me a lot of freedom to explore other flavors. So I adapted his basic biscotti recipe to suit my needs. For Christmas, I wanted to make a biscotti that would taste Venezuelan. I chose to make biscotti that would taste exactly like one of our favorite coconut wafer bars, Cocosette. We would rarely eat these because they had to be flown in from Venezuela but when they appeared it was always a treat.

Source: Ubuy
So I made coconut biscotti and they turned out so good I gave every single person in my family a bag for Christmas. And today as I write this I am making a batch for my mailman (and the Amazon delivery guy) to thank them for all their hard work as they deliver our packages when the road conditions aren’t safe and the weather is freezing cold. ❄️
Important note for making consistently good coconut biscotti
If you want your biscotti to come out perfectly I highly encourage you to measure your flour and sugar using a SCALE. PLEASE I beg you! Baking is a science. And up until now even as a trained scientist I would consistently fail and avoid baking. This was because I kept trying to follow baking recipes using cups instead of grams. Once I got a digital scale I never had to guess if I had the right amount ever again.
This recipe is one that I adapted from Basics with Babish, and he uses grams. He has suggestions for cups but they’re not a perfect or exact conversion I checked them myself. It’ll be slightly off and therefore not the same.
If you are making this recipe with children I recommend the scale even more. It’s a lot easier for a child to get the scale to reach an exact number than to perfectly scoop out flour.
Cool ways to share coconut biscotti:
- Christmas or holiday gifts
- thank you gifts for delivery men/women
- care packages for college students
- care packages for soldiers
- birthday gift for biscotti lovers
- romantic dessert for Valentine’s day or even a gift idea for your valentine
How long does coconut biscotti last?
My coconut biscotti will last up to 2 weeks at room temperature if sealed in an airtight container. You can store them in a ziploc bag, a treat bag that’s been sealed with a twist tie, a pantry storage container, a large mason jar. Just make sure it’s got a good seal!
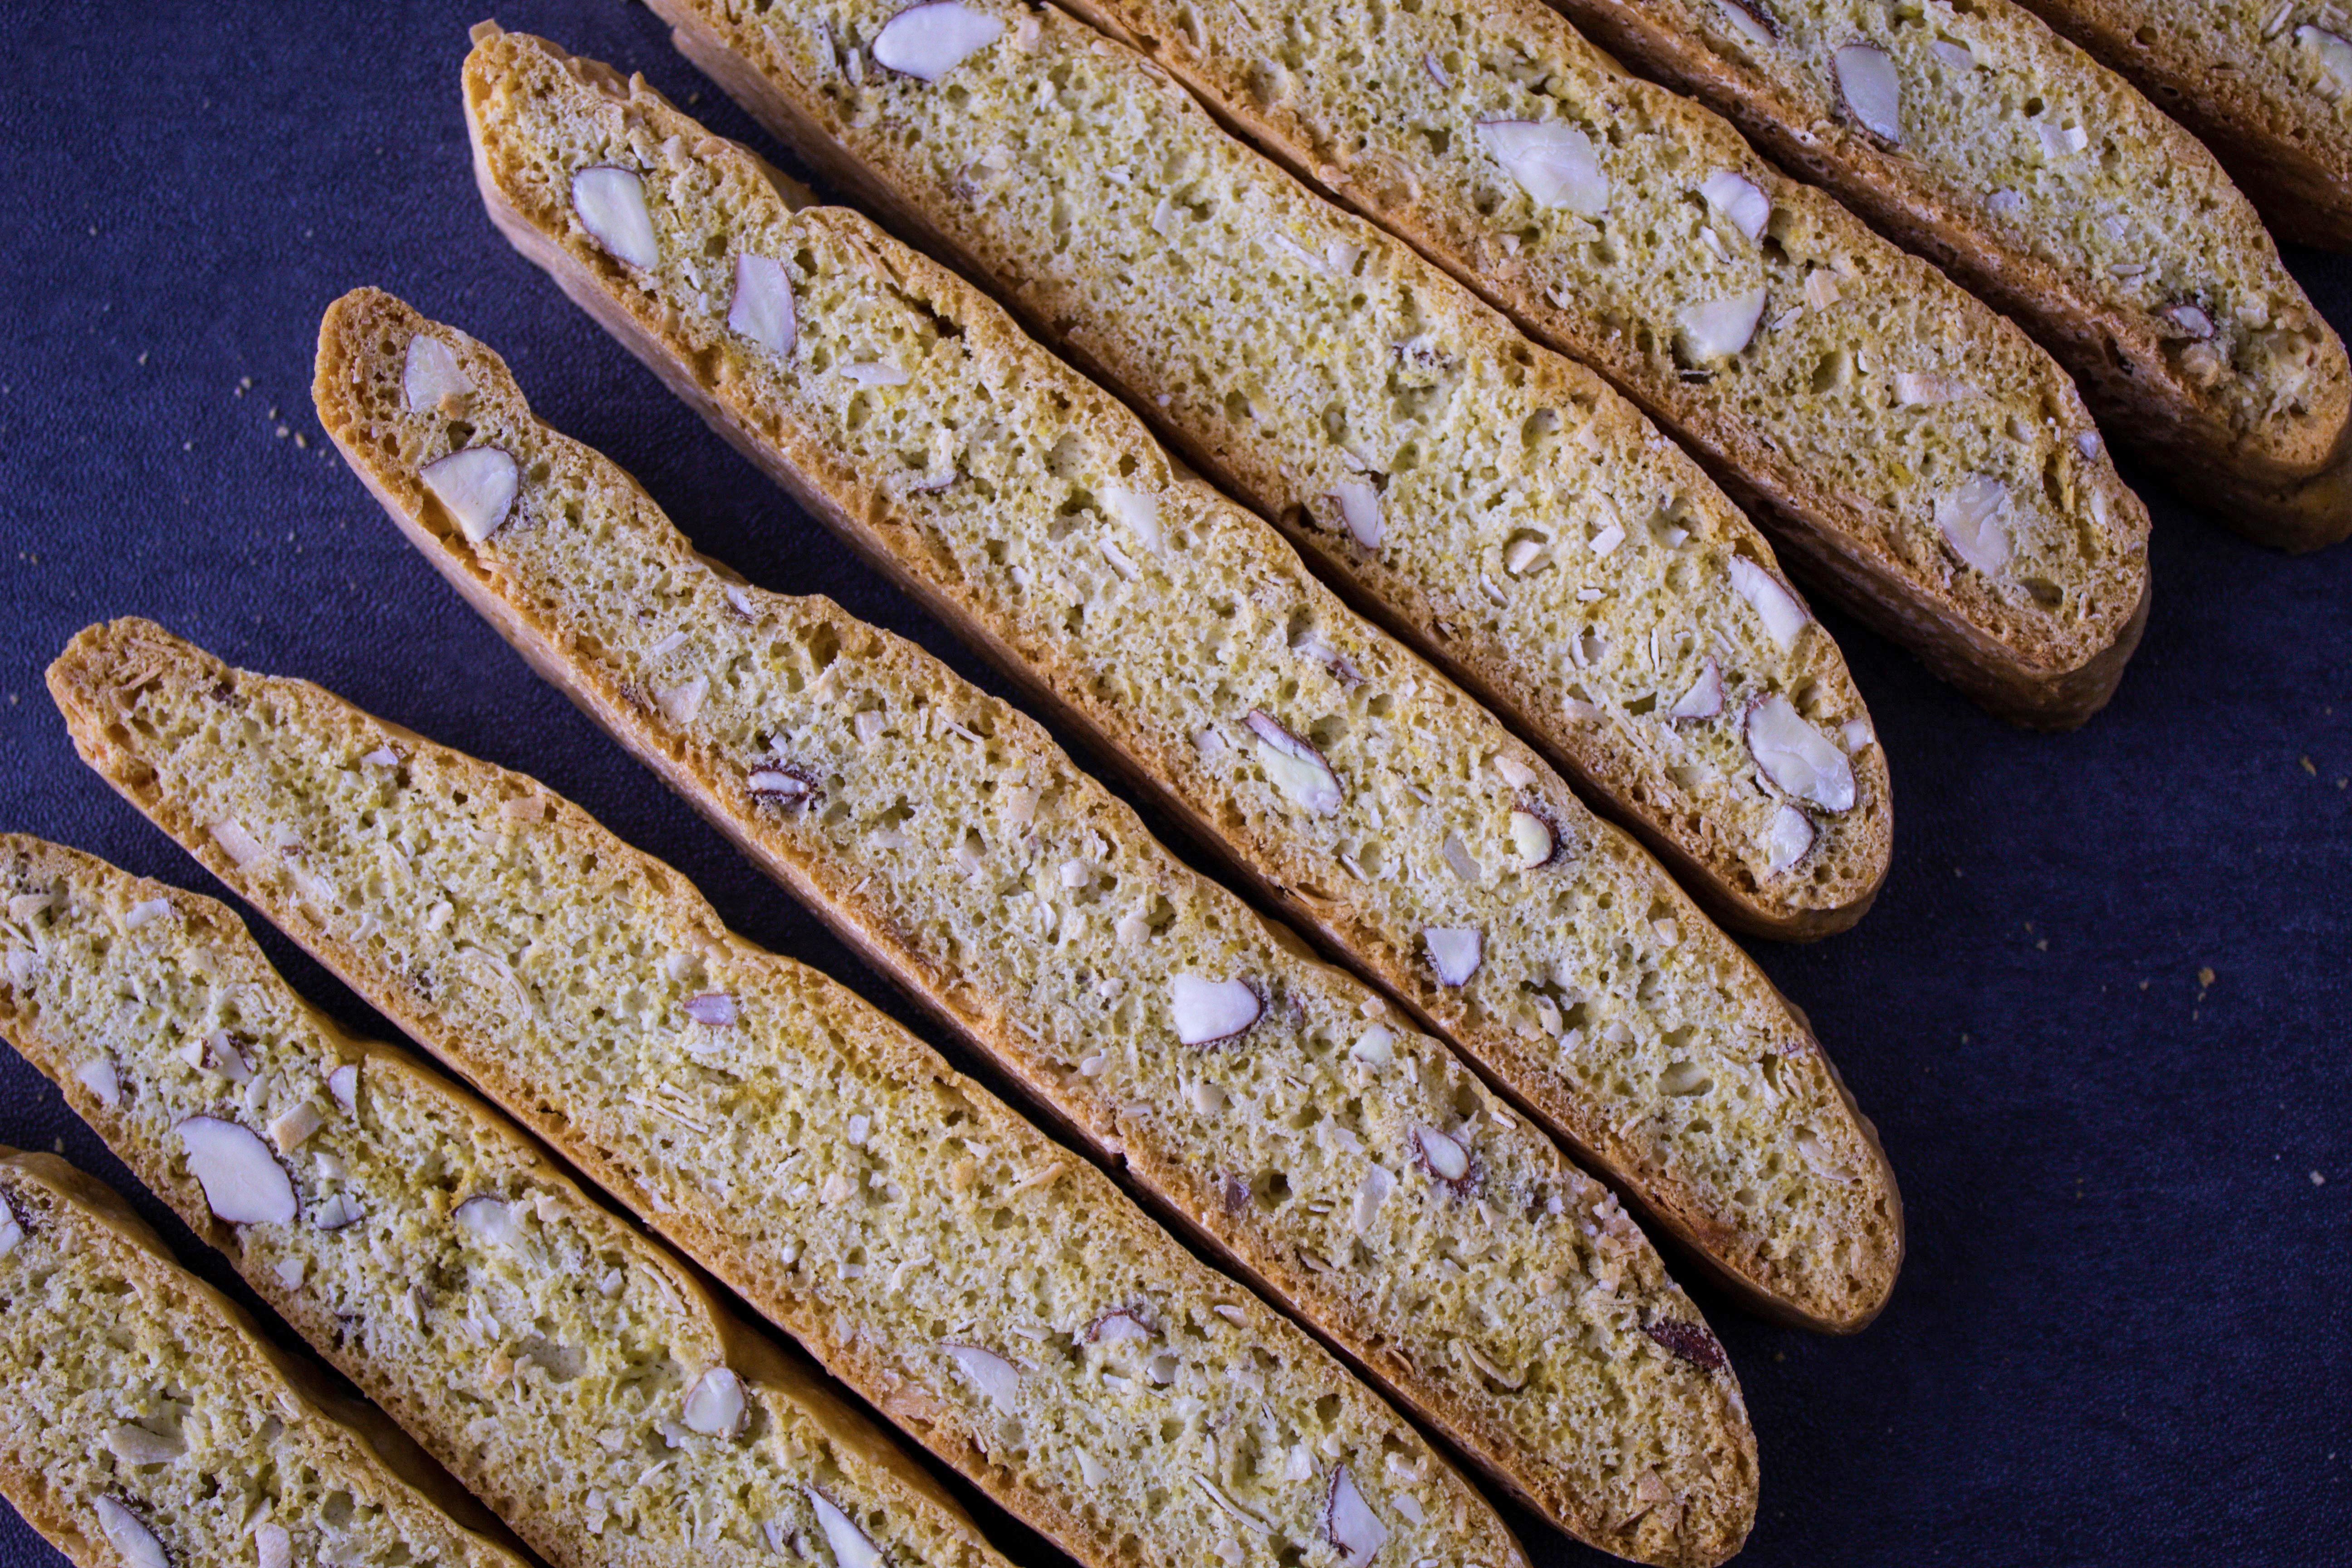
Step by step images so you can follow along as I make coconut biscotti
Step 1 – Mixing the wet and dry ingredients to make a dough
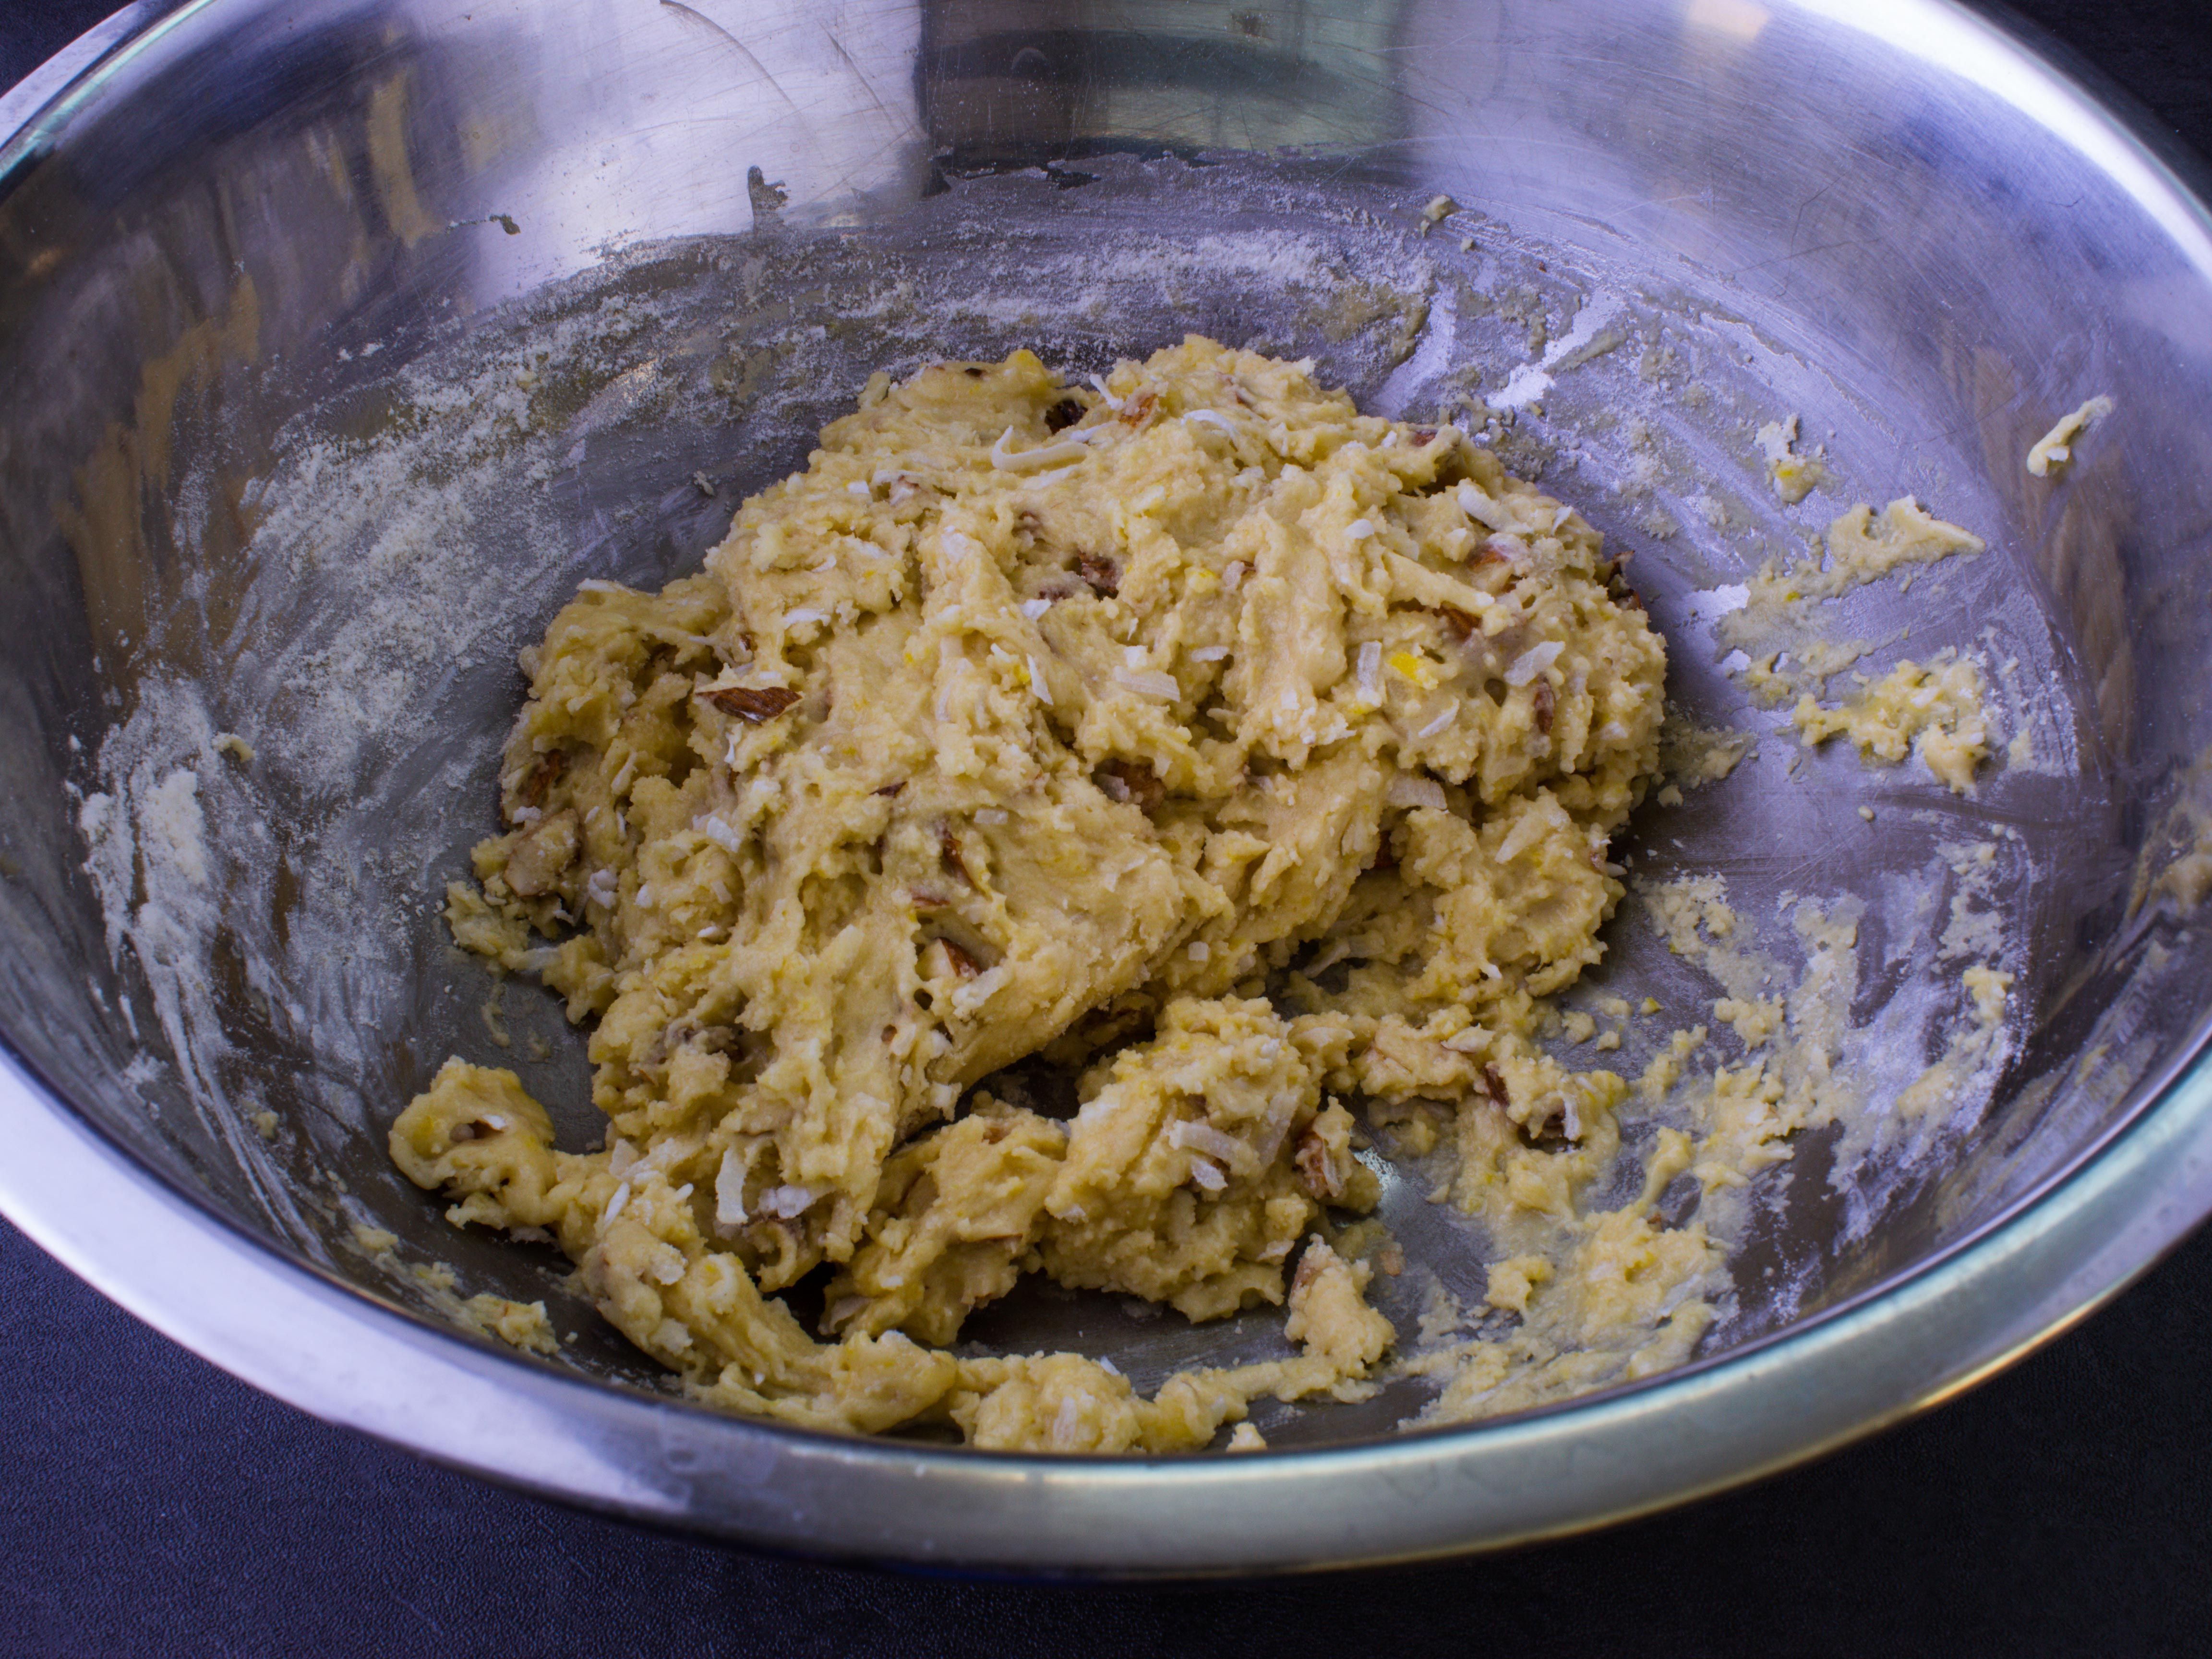
Step 2 – Place the dough (using wet hands) on a parchment paper lined baking sheet
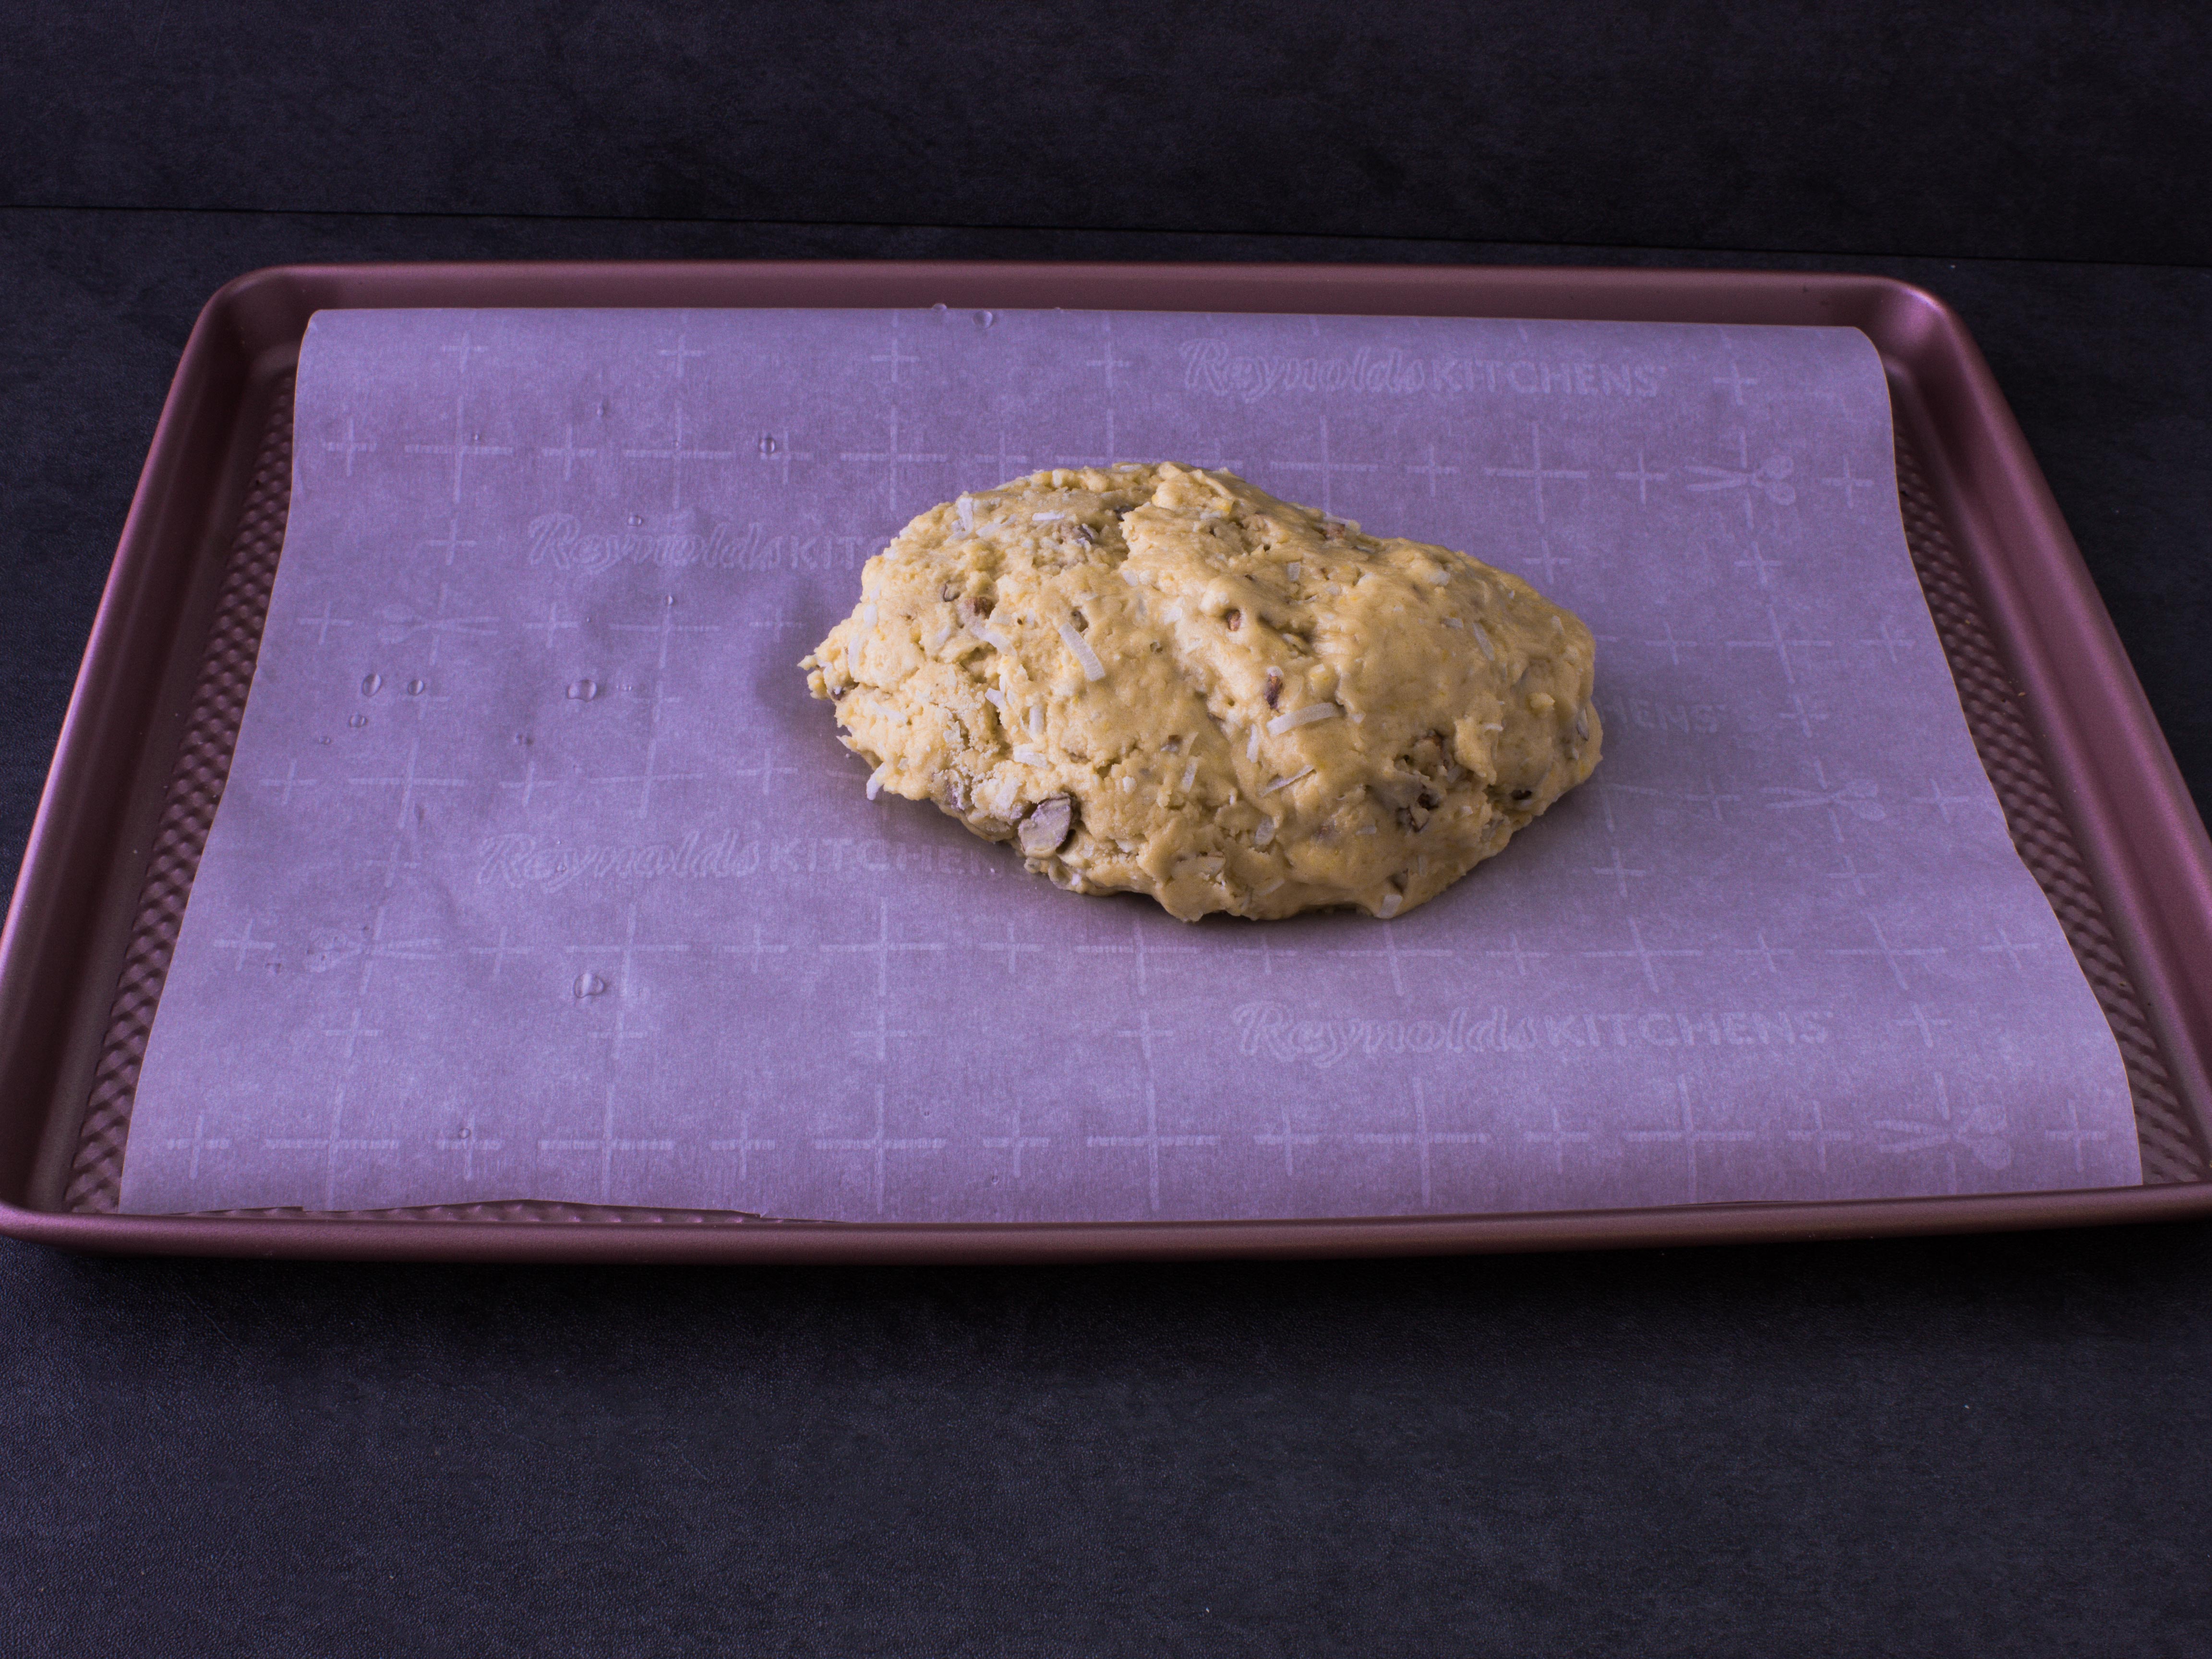
Step 3 – Flatten the dough (make sure hands are wet) into a rectangle. The wider your rectangle the more biscottis you can make.
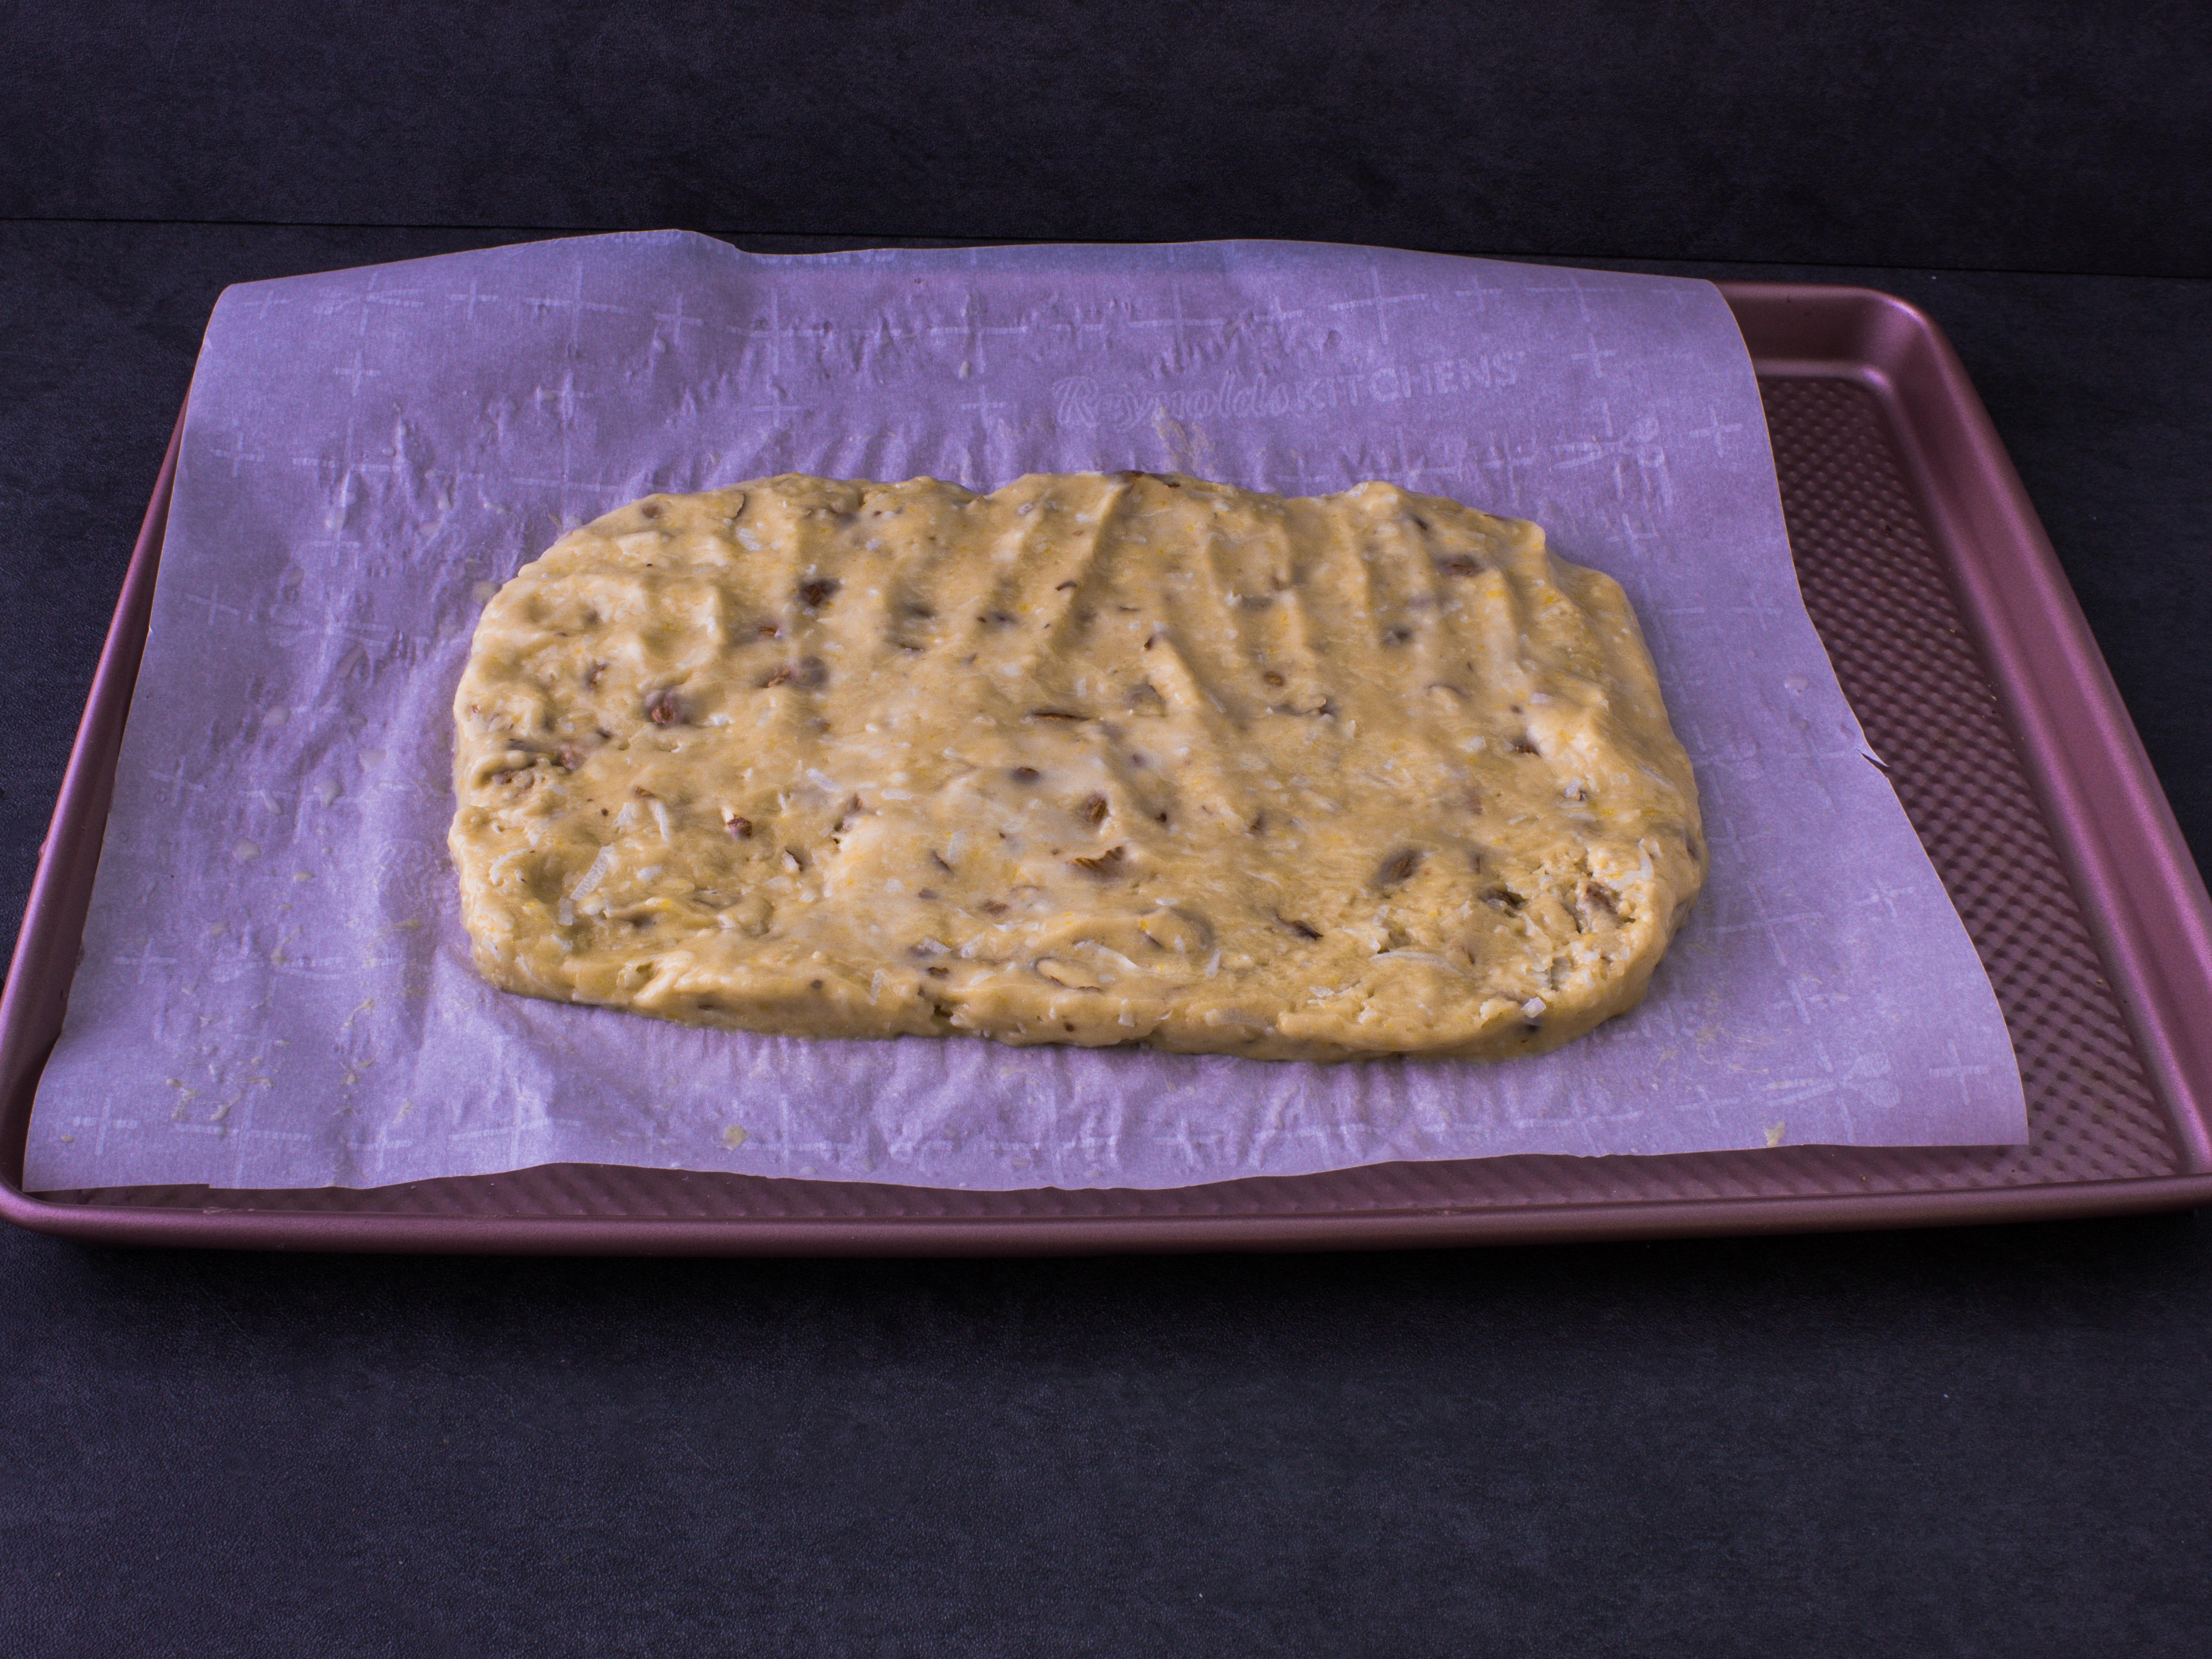
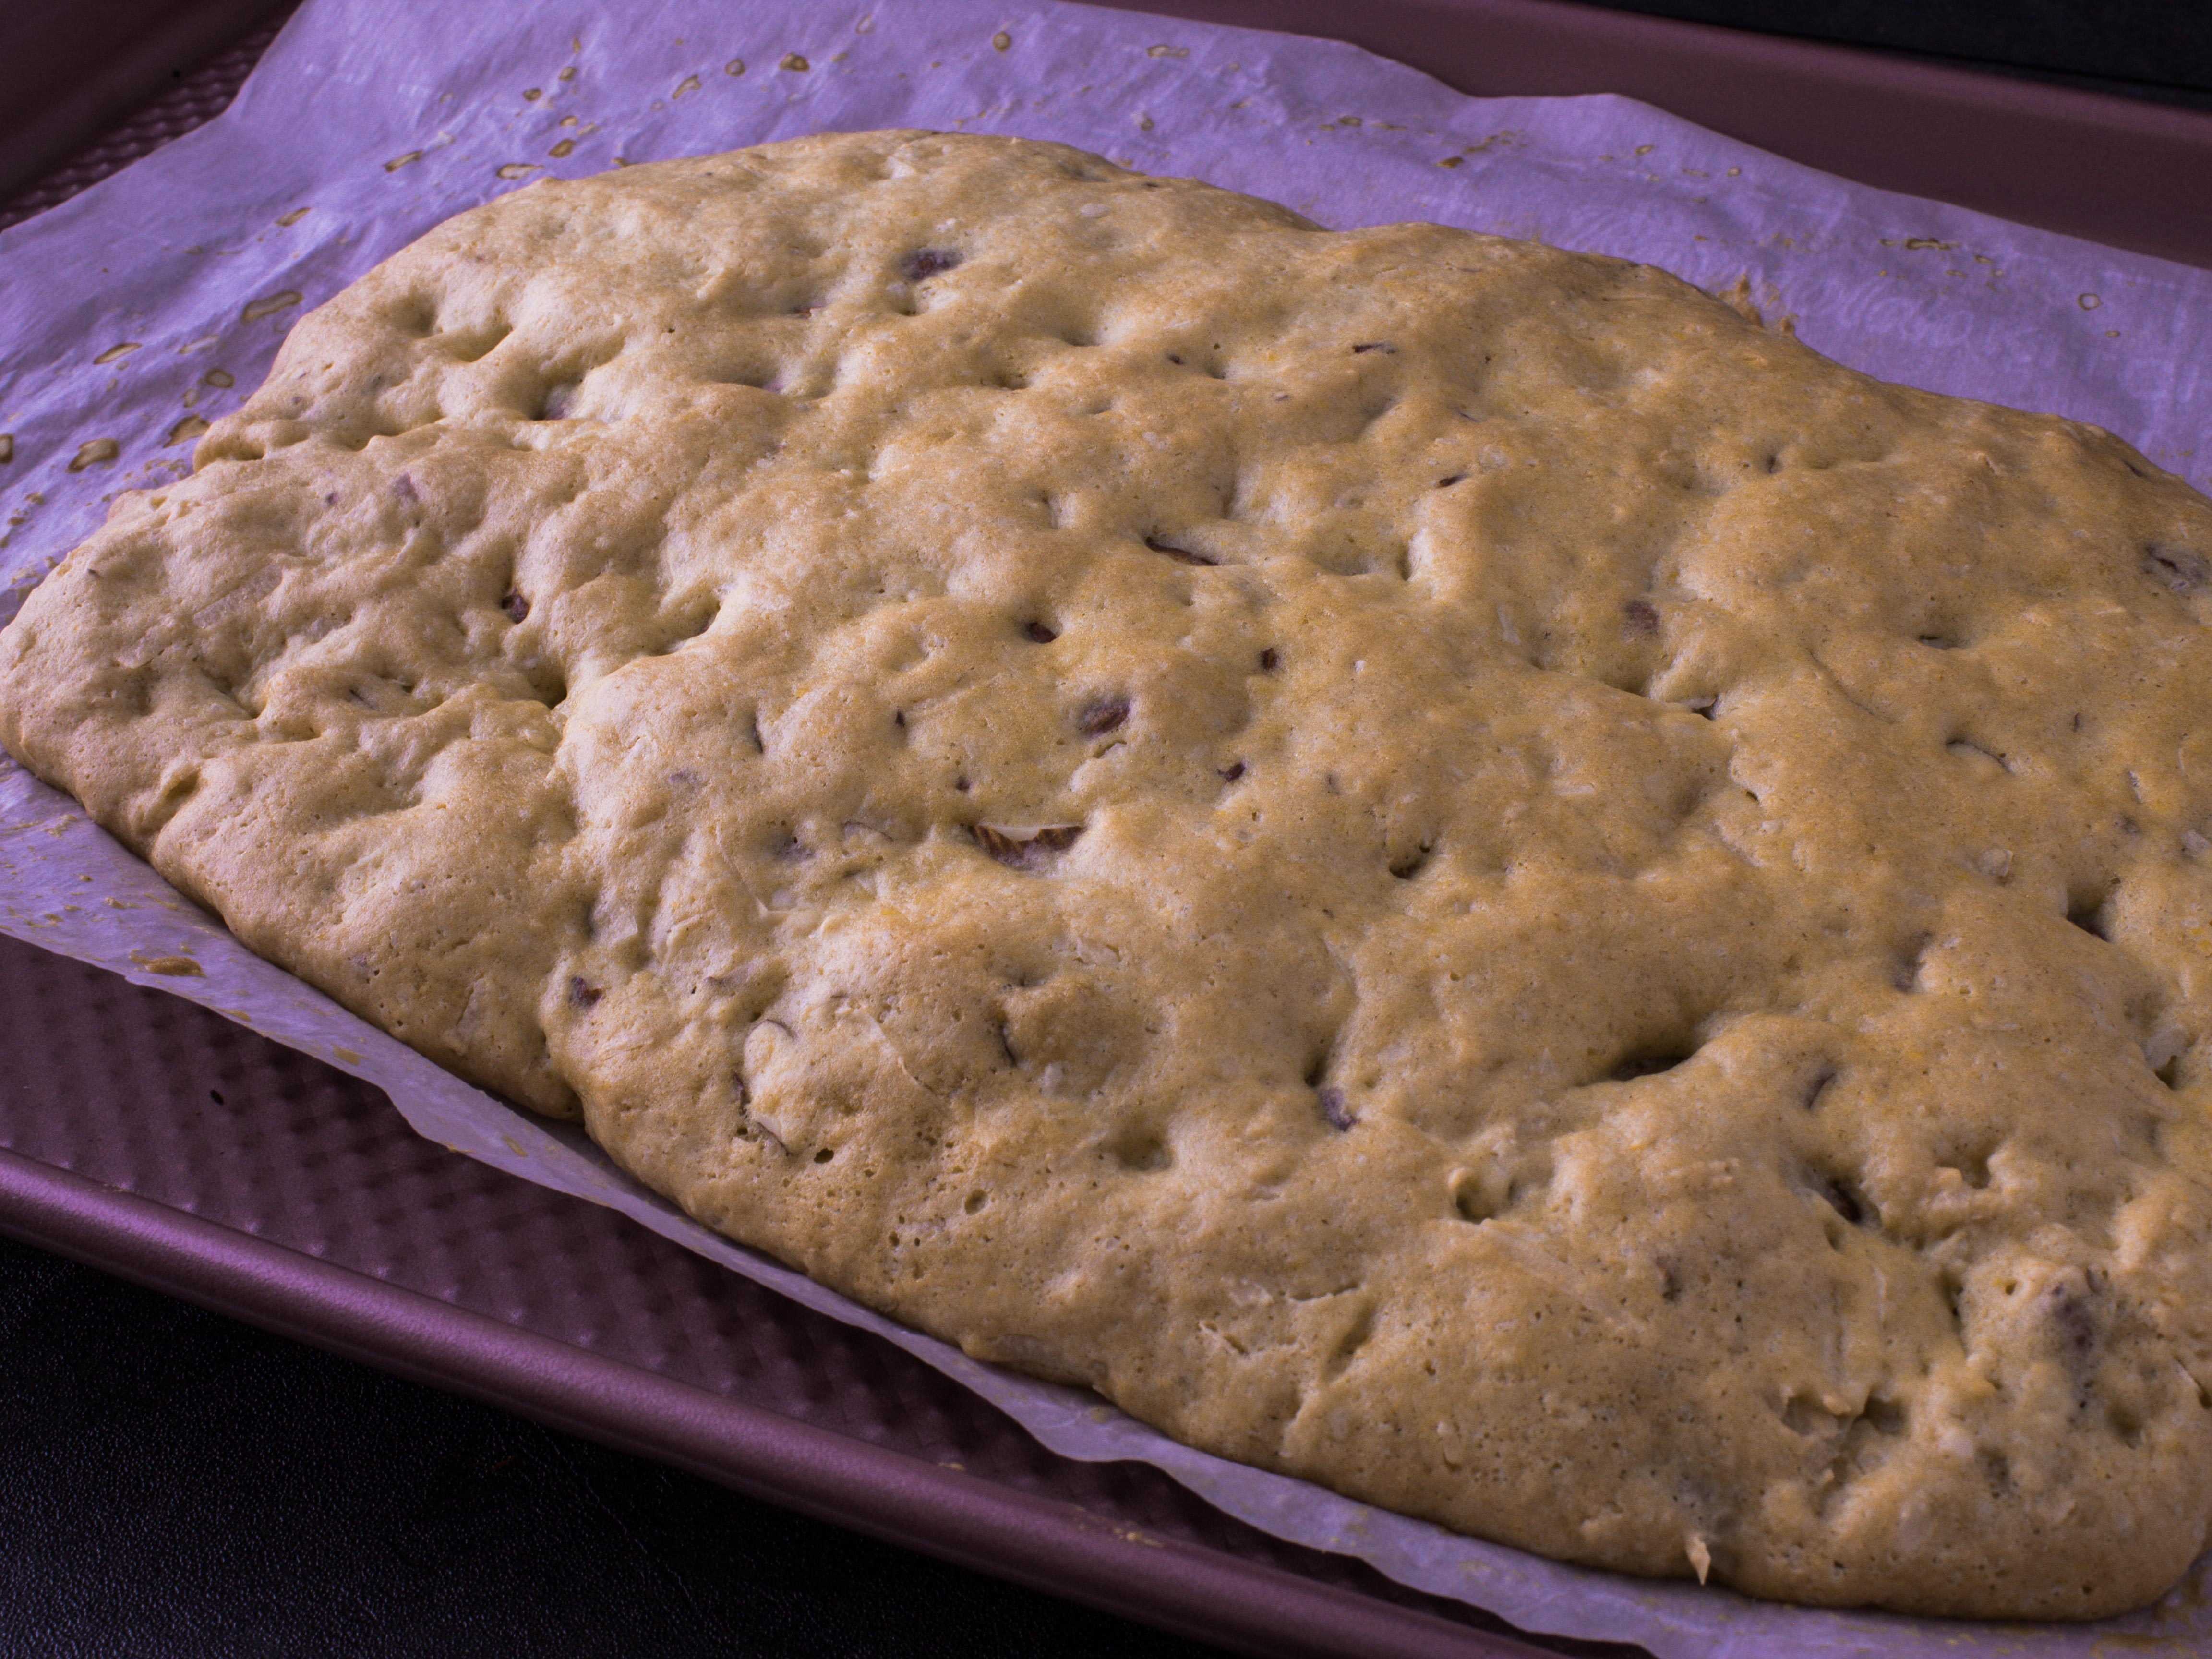
Step 4 – Biscotti dough fresh out of the oven after cooking for 30 minutes. Cool for at least 10 minutes before slicing.
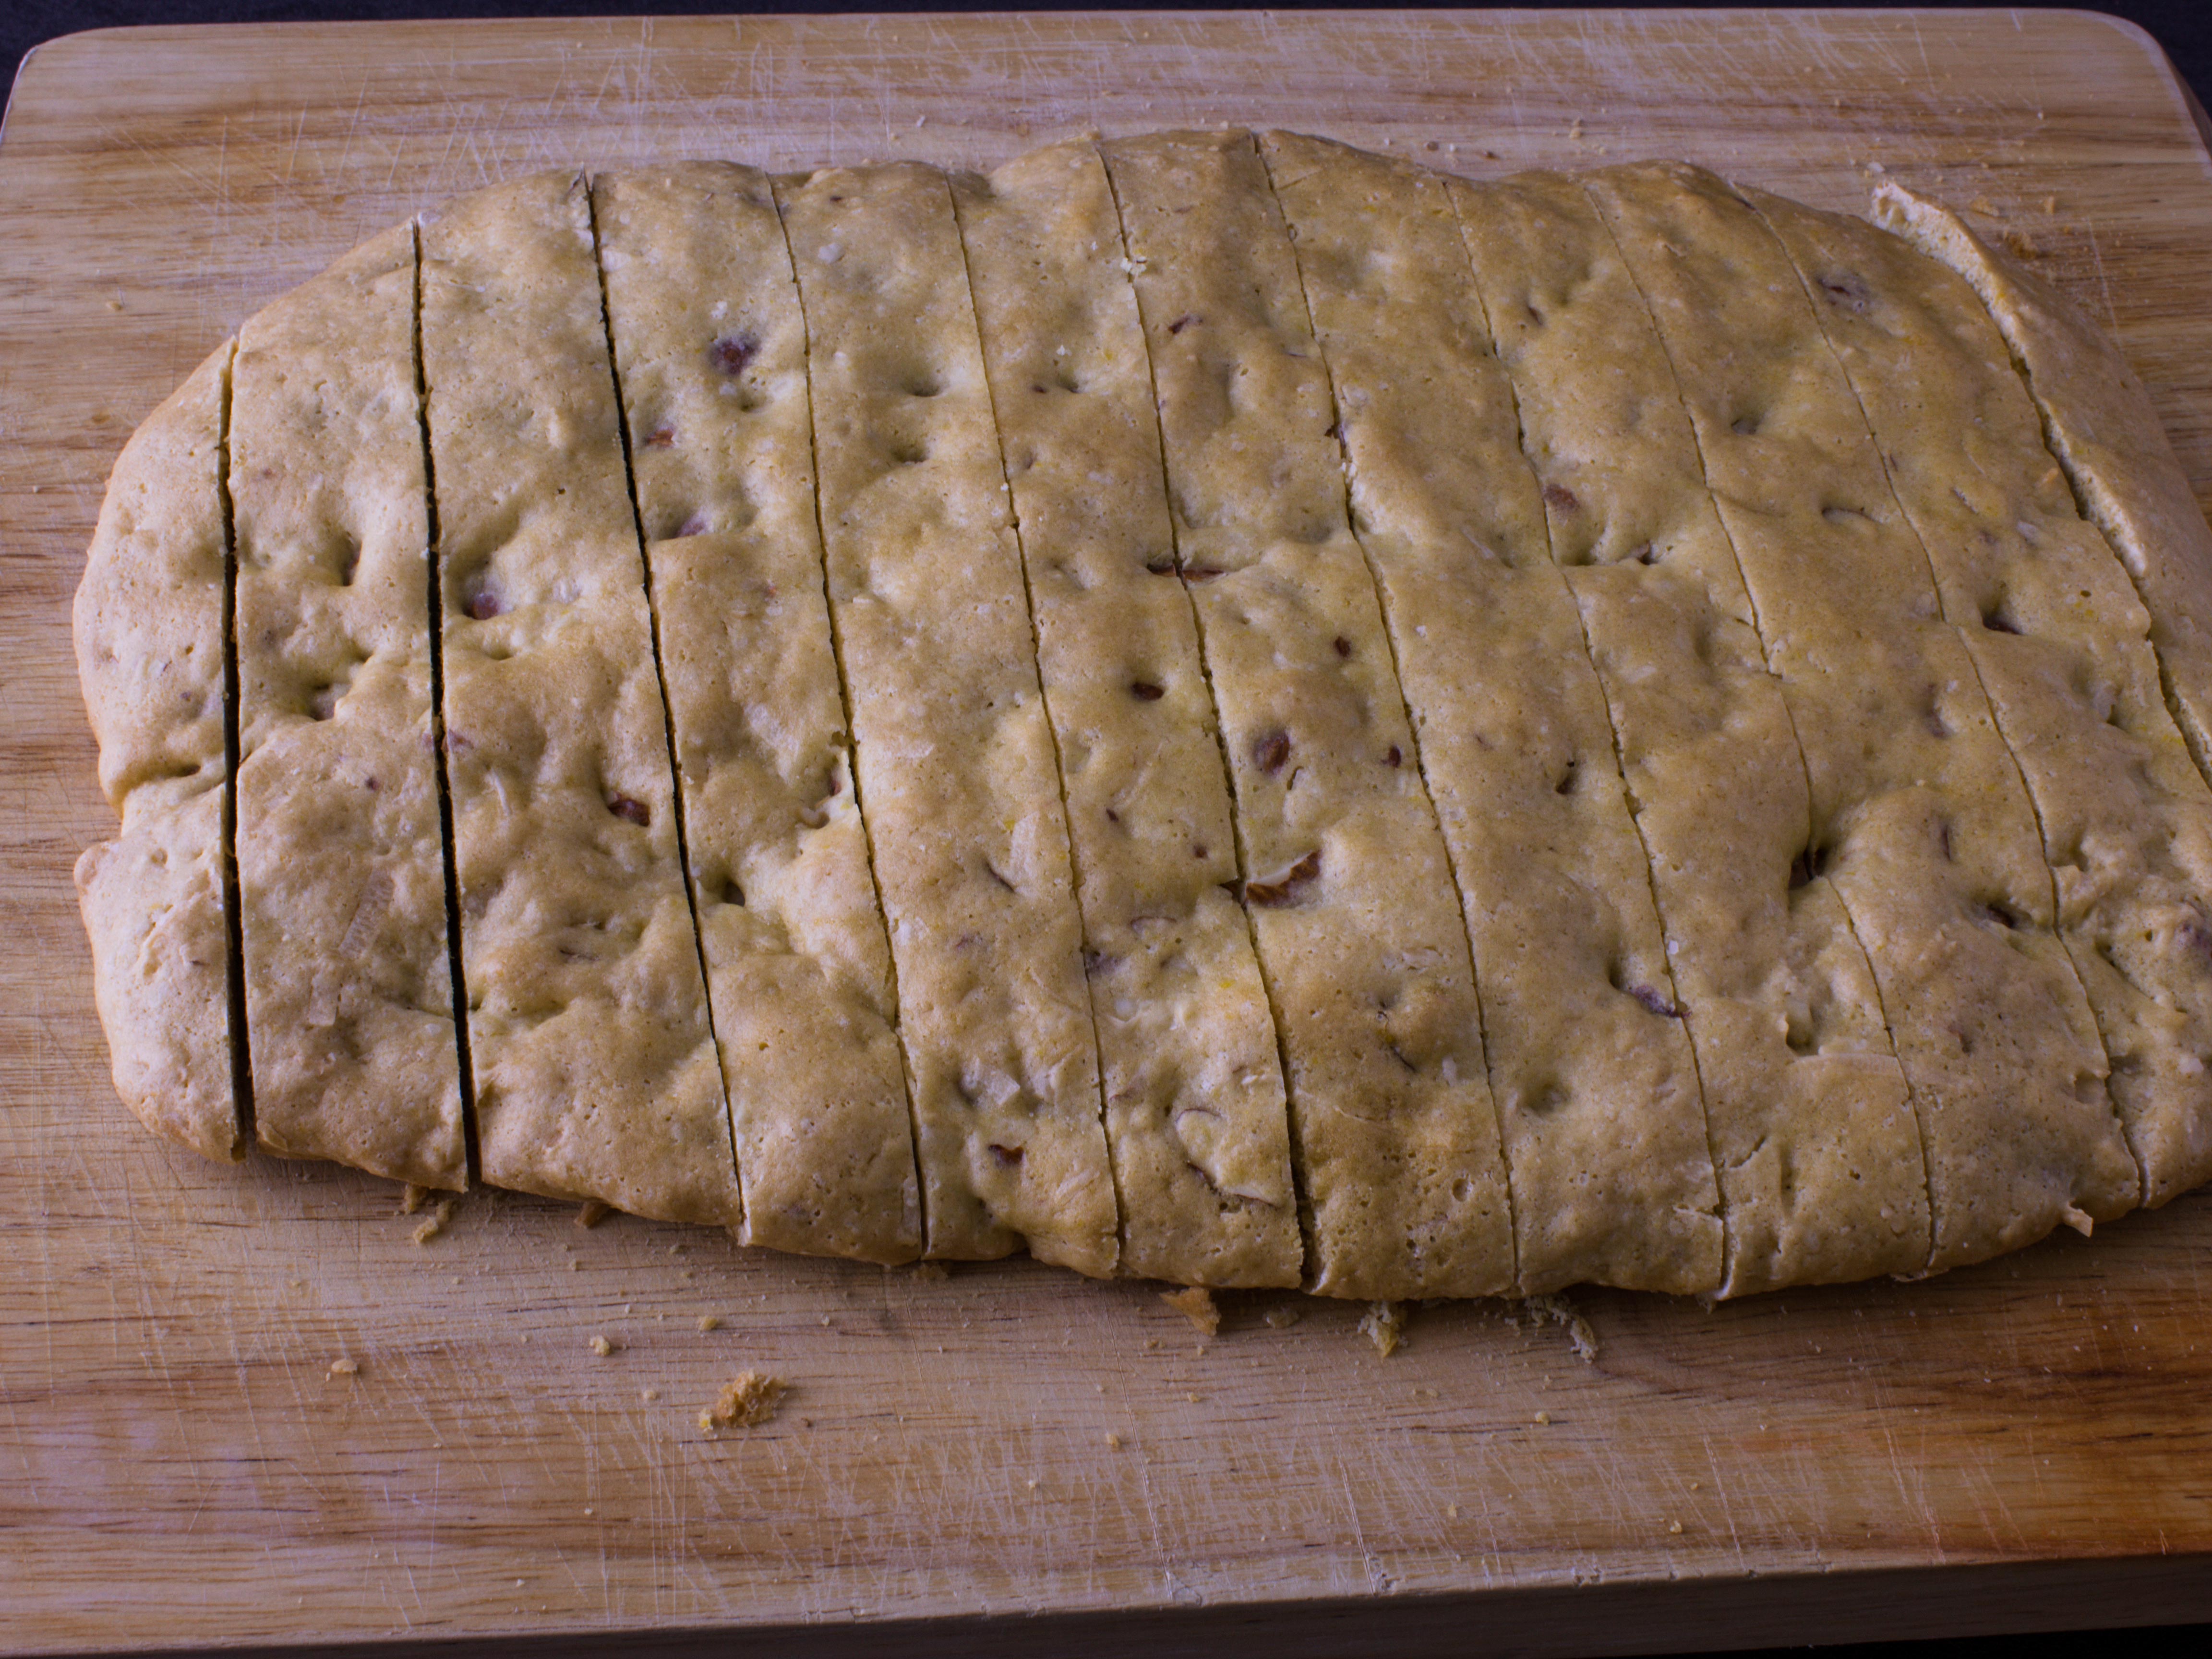
Step 5 – Slice your biscotti, I slice mine so they are almost 1 inch thick. (can also slice at a diagonal for even longer biscotti)
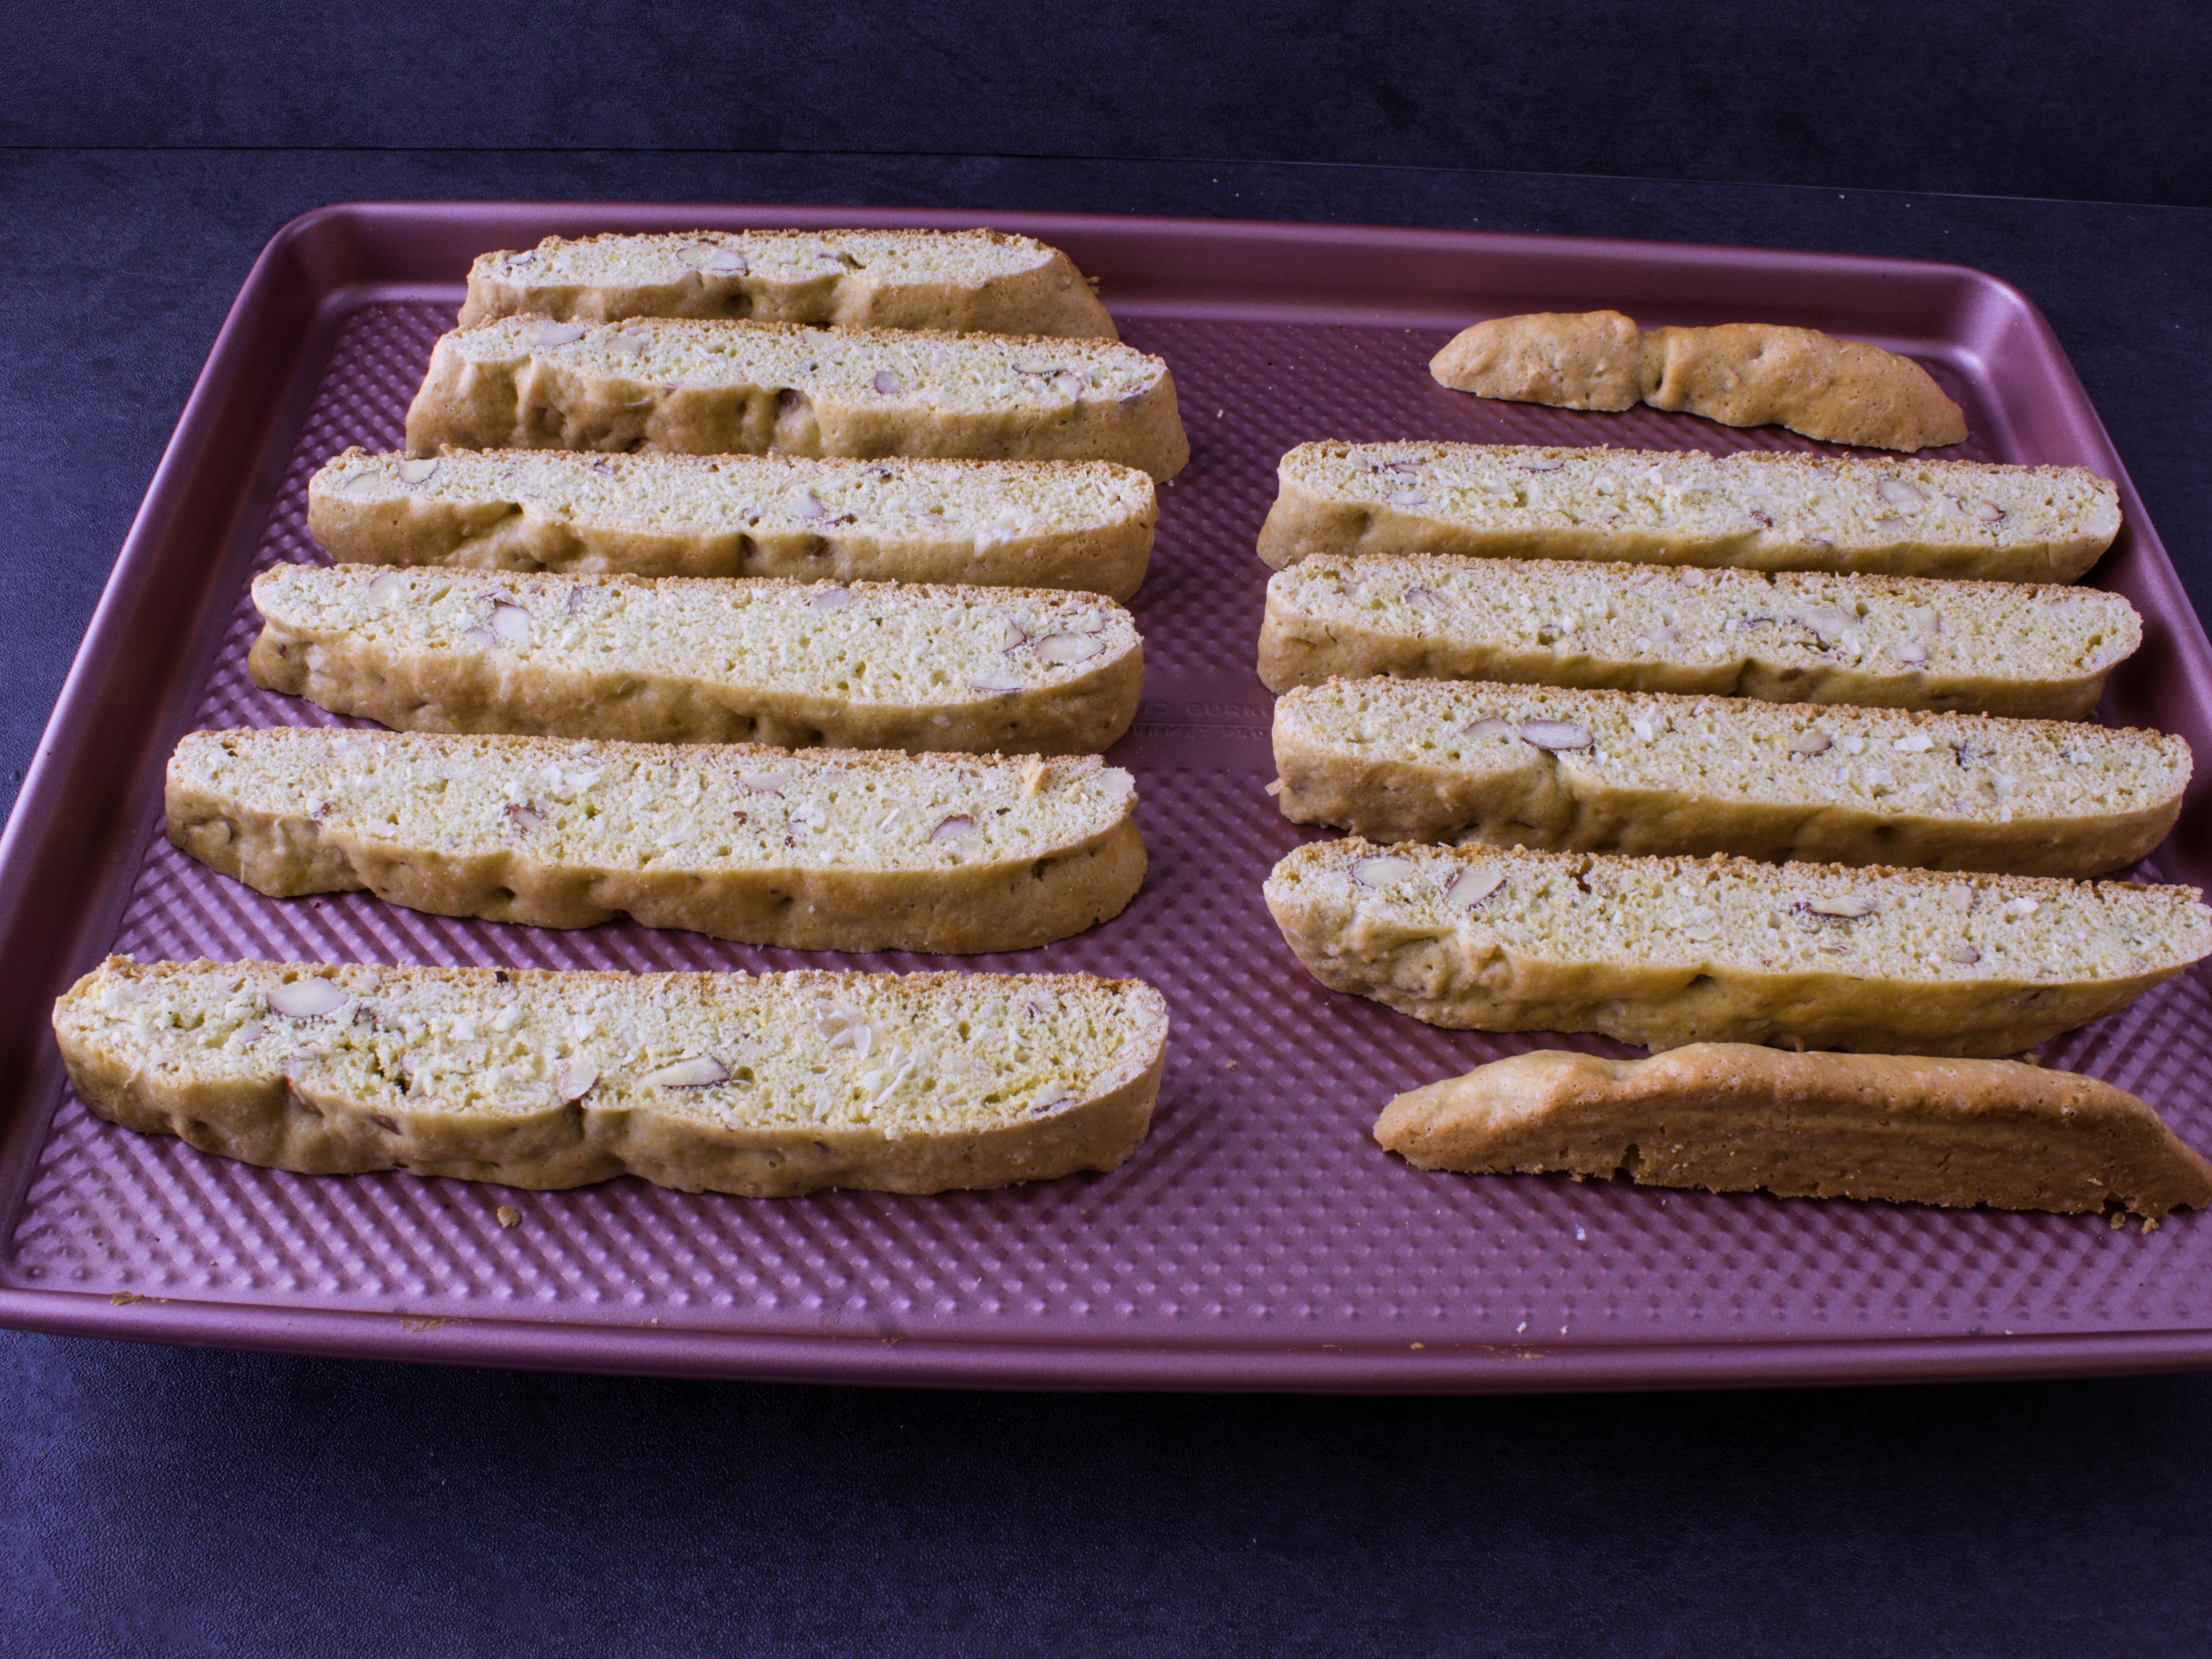
Step 6 – Place the biscotti face down on a baking sheet. Bake at 300°F for 12-15 minutes. After baking the first side, take the biscotti out and flip them over to the other side and pop them back in the oven for an additional 12-15 minutes.
Final step – Your biscotti should be crispy, and golden when they are done baking. Let them cool for 5-10 minutes before eating!
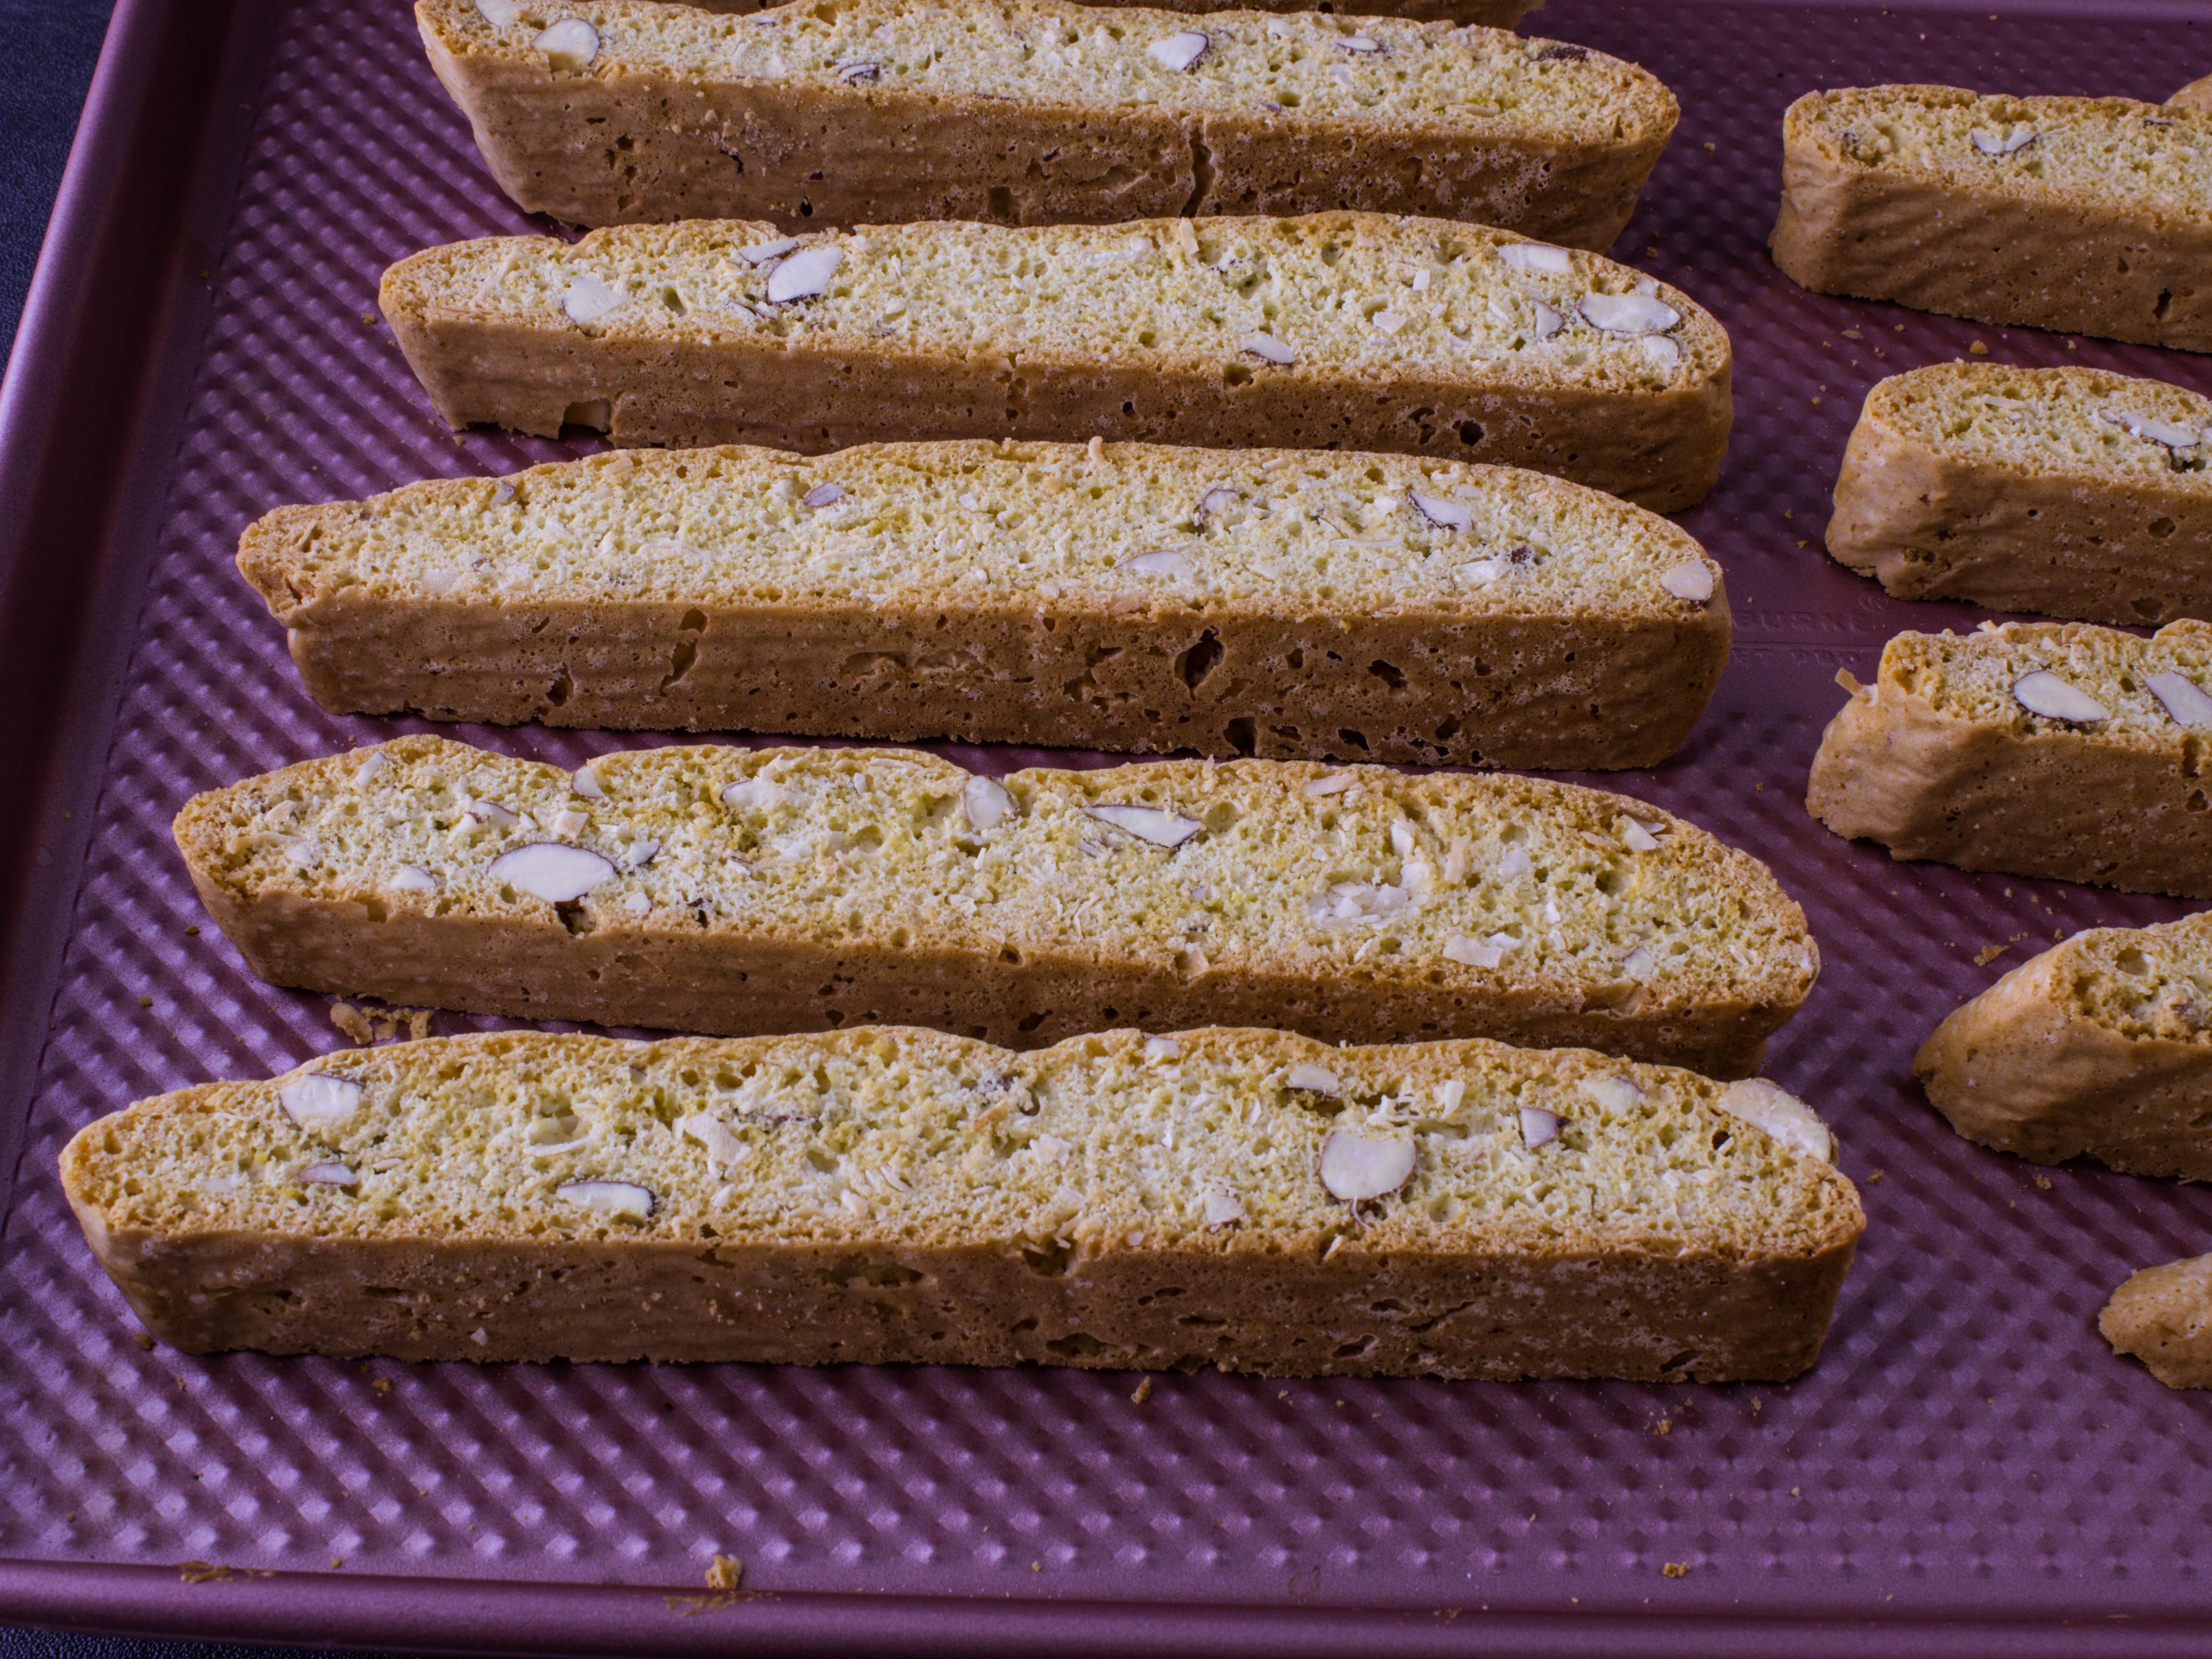
Best Coconut Biscotti
Craving Nonni’s biscotti but with a tropical twist? Try these easy coconut biscotti!
- Prep Time: 10
- Cook Time: 60
- Total Time: 1 hour 10 min
- Yield: 12–15 biscotti 1x
- Category: Dessert
- Method: Oven
- Cuisine: Italian, Latin, Carribean
- Diet: Vegetarian
Ingredients
- 250 grams all-purpose flour
- 1 tsp baking powder
- 1/4 tsp baking soda
- 1/2 tsp kosher salt
- 1/2 cup whole almonds
- 1/2 cup coconut flakes, unsweetened
- 3 large eggs
- 175 grams granulated sugar *See note for cups measurement
- 1 tsp coconut extract
- 1/2 tsp vanilla extract
Instructions
- Preheat your oven to 350°F. Roughly chop your almonds into pieces and chunks.
- Add flour, baking powder, baking soda, salt, almonds, and coconut flakes to a large bowl and mix to incorporate everything together.
- In a separate smaller bowl, add 3 large eggs, coconut extract, vanilla extract, and granulated sugar. Whisk this mixture together.
- Add your wet egg/sugar mixture to your large bowl with the flour mixture. Mix this together for about 1 minute until you get a dough. (it will be sticky)
- Keep a small bowl with water nearby. Wet your hands and transfer the dough to a parchment lined baking sheet.
- With wet hands, pat the dough into a log. Pressing it flat into a rectangle shape. (Look at blog post for reference images)
- Once finished shaping into a log, bake in the oven at 350°F for 30 minutes. After 30 minutes, remove from oven. The biscotti loaf will be slightly golden and firm.
- Reduce oven temperature to 300°F. Allow the biscotti to cool for at least 10 minutes at room temperature. After 10 minutes, transfer the biscotti to a large cutting board.
- Slice the biscotti into 1 inch slices. If you want more biscotti, make thinner slices. (If you want longer biscotti, slice at a diagonal)
- Place the sliced biscotti back on the baking sheet on their side. Bake for 12-15 minutes at 300°F, then flip all the biscotti over to the other side and bake again for 12-15 more minutes.
- Remove from oven and let the biscotti completely cool down. Enjoy with coffee, tea, or milk!
Notes
Do not follow the conversion calculator for sugar here it is not 1 cup of sugar. The exact amount in cups is 3/4 cup + 2 1/2 tbsp. I highly recommend measuring the flour and sugar using a scale instead.
Storage: store the biscotti in air tight containers or goodie bags that are sealed. They will last 2 weeks at room temperature.
Keywords: coconut biscotti, biscotti recipe, homemade biscotti, coconut biscotti recipe

You are so cool! I don’t think I’ve read through anything like this before. So wonderful to find somebody with a few unique thoughts on this topic. Seriously.. thank you for starting this up. This site is something that is required on the internet, someone with a little originality!
These are really good! I did rough chop the almonds, but other than that I followed the recipe exactly. Other biscotti I’ve tried have been difficult to cut, but these cut very neatly. And they taste great! The coconut flavor makes them more interesting than regular biscotti.
Thank you so much for trying my recipe! 🙂 Thanks for the note on rough chopping the almonds, I prefer them chopped too so I’ll make sure to update my ingredients list to note that!